

The Ultimate Shirtmaking Workshop!
Apprenez à coudre des chemises boutonnées
CHOOSE YOUR PATTERN:
Includes your choice of shirt pattern in PDF or print format:
Jenna Shirt + Shirtdress and/or Kalle Shirt + Shirtdress.
Are you ready to sew a closet full of beautiful button-up shirts, learn professional shirtmaking techniques and tips, and push your sewing practice to the next level?
If you love making your own clothes but feel a little intimidated when it comes to sewing button-up and button-down shirts, this class is here to help with the support and guidance you need! Following along with our step-by-step video lessons, you'll learn everything you need to know to construct a perfectly made shirt from start to finish, using our time-tested techniques and tips for getting beautiful and professional looking results.
Using your choice of two detail-rich shirt patterns (with skills you can apply to any commercial pattern, regardless of gender), Heather Lou of Closet Core Patterns teaches each lesson in simple language everyone can understand, so both advanced and novice sewists alike will feel confident creating beautiful, custom-made shirts from the comfort of their own home.
Work at your own pace – anytime, anywhere, on any device – and learn how to sew a wide variety of button-up shirts from a respected sewing industry expert using nothing but a straight stitch and a standard sewing machine!
View the Trailer:
What you'll learn...
- How to source the right shirtmaking fabrics, interfacings, notions + tools
- How to modify and adjust patterns to add unique design details for one-of-a-kind shirts
- How to sew a variety of shirt placket styles, from classic to more advanced varieties like hidden button plackets, and popover or tunic plackets
- How to sew a variety of professional looking collars, along with a professional tailor's trick for getting super sharp collar points
- How to sew perfect sleeves and cuffs, with detailed instructions on how to sew the tricky tower cuff placket with absolute confidence
- Professional seam finishes that can be entirely sewn on a regular sewing machine with only a straight stitch
- How to topstitch like a pro
- How to finish up your project with beautiful hems and gorgeous buttons and buttonholes
Included Patterns:
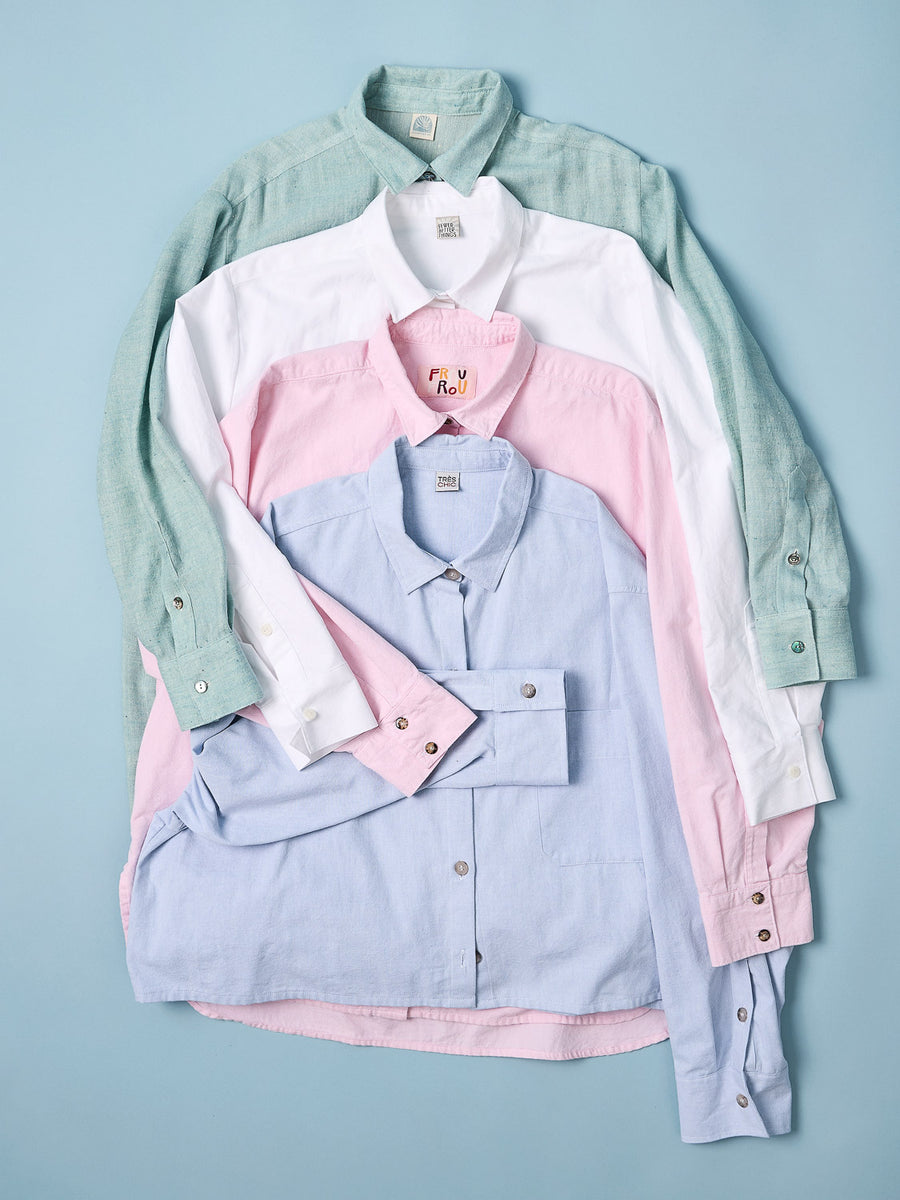
While you can use just about any shirt pattern while sewing along with this class (including men's shirts and patterns from other companies), we've included two beautiful and versatile patterns with enrolment. Choose between:
- Jenna Shirt + Shirtdress, our latest shirt pattern that can be made as a classic shirt, cropped shirt, or shirtdress. Features a long sleeve + tower placket and is available in PDF format and print format in sizes XXS-4X
- Kalle Shirt + Shirtdress, a modern shirt design with a cut-on sleeve, sleeve cuff and variety of placket and collar styles. Available in PDF format (sizes 0-32) and print format (sizes 0-20 only). Please note we will also include the Kalle long sleeve PDF pattern expansion for free when you choose Kalle with this class!
Print patterns will be shipped directly to you. For instant gratification, choose a PDF pattern; see our guide to printing and assembling PDF patterns here.
Also Included:
- Access to our private students-only forum where you can ask for help, share your progress and meet new sewing friends
- One-on-one advice and help when you need it! You can always count on a response from our team when you have questions or need support while sewing along with our classes.
- Downloadable shirt fitting ebook to help you diagnose common fitting issues
- Bonus pattern pieces to allow you to add a tunic or hidden button placket to the Jenna shirt, or add a long sleeve with cuff to the Kalle shirt
- Watch anywhere video lessons with closed captioning
Class Benefits:
Meet Your Instructor
Heather Lou is the force behind Closet Core Patterns and Core Fabrics. As a pattern designer and sewing educator, she has been writing and teaching about sewing for over a decade, and has taught thousands of people to sew, both online and in sold-out sewing workshops across North America & Europe. Her work has been featured in Threads, Sew News, Seamwork, Love Sewing and Sewing World magazine.
With her contagiously positive attitude, Heather’s teaching style is fun, approachable, and filled with helpful tips and techniques to help you transform the outfits in your imagination into a self-made wardrobe you love — not one you’re limited to buying off the rack.
Frequently Asked Questions
I'm psyched about making my own shirts! How do I get started?
To get sewing, choose your pattern and pattern format at the top of this page to add the class to your cart. Once you check out, you'll be automatically enrolled in your class on our class platform called Mighty Networks. The link to login to the class will be sent to you via email. If you've chosen a PDF pattern, you can download your pattern immediately after checkout or from a link in your order confirmation email. Please check your spam folder if you don't receive it after finalizing your purchase.
When does this class start and finish?
The beauty of Closet Core Patterns’ online classes is that you call the shots on when they begin and end. Learn to Sew Shirts is a completely self-paced online class, which means you get to decide when you start, when you finish, and how many times you replay it.
What will I need to get started?
In the class we’ll share a complete supply list, along with information about where and how to source everything on said list. At the very least, you’ll need a sewing machine, iron, shirt fabric, interfacing, buttons, thread, and marking tool.
How long does the class take to complete?
It’s up to you! To give you an idea of how long the class is start to finish, the video runs just over 5 hours long and comprises 10 lessons total. Since we cover the construction of multiple patterns, you'll be able to skip around to relevant sections for you. Binge watch them in a weekend, or do a little at a time. You can return to the class as many times as you’d like, and there’s no time limit for you to complete in.
How do I get my patterns?
You can choose your pattern in either a PDF format (which you can print at home or at a copy shop) or print patterns we'll ship directly to you. If you select the PDF format, you'll be able to download your patterns immediately after checkout, or by using the download link sent to you via email. Print patterns will be shipped in 5-10 days.
Can I use any shirt pattern for this class?
This class focuses on construction and technique, and while we use Closet Core patterns to demonstrate on camera, you can follow along using absolutely any shirt pattern you prefer, including a men's pattern.
How long can I access the class?
All day, ‘erryday. But for real, this class includes lifetime access. After you enroll, the class is yours, which means you’ve got unlimited access for as long as you like, across all devices for all of eternity.
Customer Reviews
The tutorial was very informative, and the host was much fun to sew along with.
Love her humor!
This is a fabulous series, thanks so much!
I was extremely nervous to make a button shirt - they look so technical and I just wasn't sure I could do it.
This course is so well paced, you can just do one step at a time, and you'll get an amazing shirt that looks store bought!
Heather is a fabulous instructor, taking time to explain not only the how, but also the why, and how the CC team worked through their patterns and found new/ better/ simpler/ more interesting ways to get a professional finish.
I will DEFINITELY be making more shirts, and coming back to this series for the support and guidance that an overthinker needs!
Thanks team - honestly the best sewing tool I've purchased!
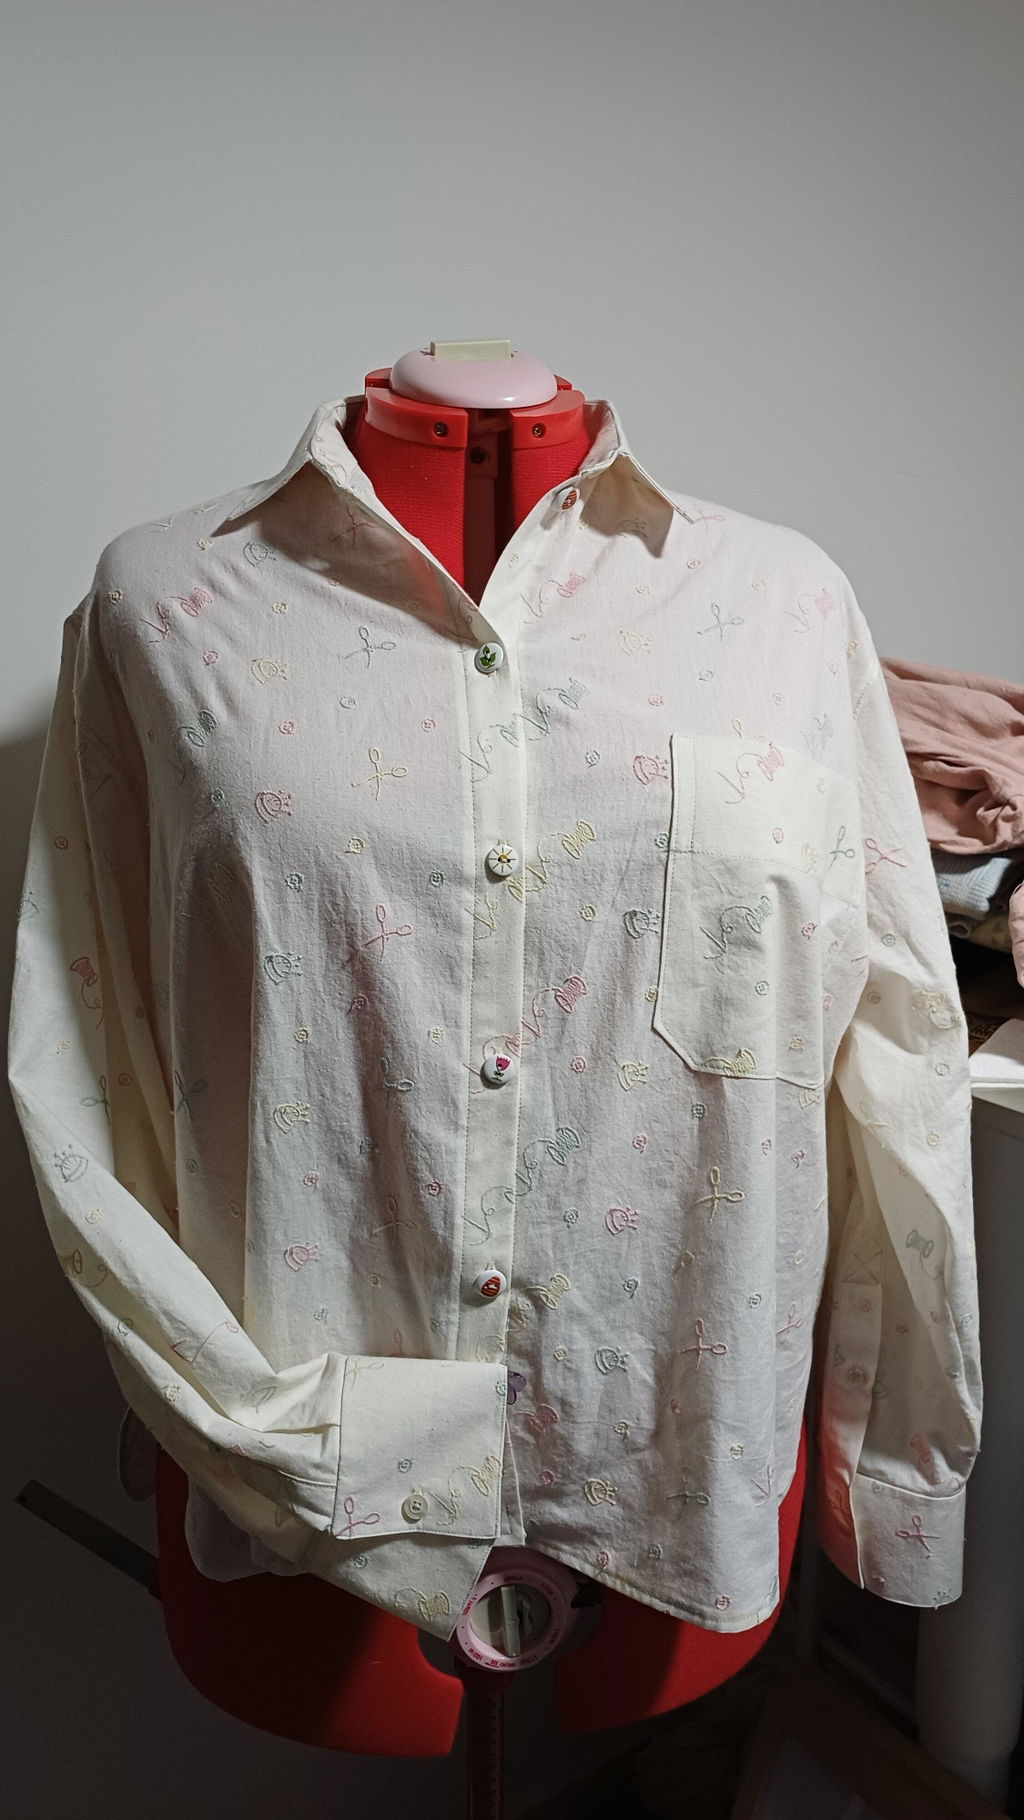
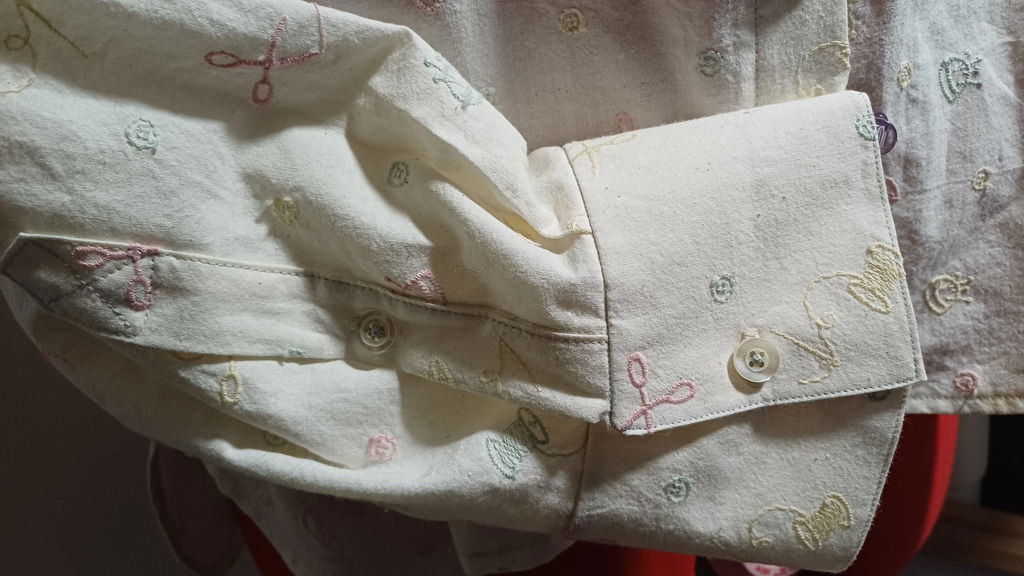
I bought this course and took my time going through it - I've only made very simple garments up to now. I learned brand new skills such as flat felled seams, making my first collar stand, collar, shirt cuffs, plackets, hem gusset, curved hemming, buttonholes and buttons (my sewing machine makes these so so easy, I don't know why I've been scared to do this before) - and learned so much. Not everything came out perfectly - oddly, the most difficult parts for me were the hem gusset (the transition from the bottom of the shirt curved hem to the side seam was not graceful on my part) which made the gusset just so fiddly. My sleeve cuffs have odd wrinkles on the inside, so I didn't fuss with it too much - I think I might have ironed a little less carefully than I could have. My collar stand is PERFECT. I love the flat felled seams on my sleeves. More learnings from this project - I accidentally cut two separate pieces for the back of the shirt (instead of cutting one piece along the fold) so I just serged them together. I thought I sewed the shirt side seams accurately and graded the seam allowances to flat fell the seams but then realized, I didn't attach the sides correctly so I had to abort my plans to flat fell my seams and serged the side seams instead. My sleeve plackets still had some material tucked in and doesn't lay completely flat but it's good enough lol - I learned so so much. Heather holds your hand through this and I just tried to not rush things on my side. I am glad I did my first project with the Jenna shirt, I thought this class was so good for someone to follow along with that pattern. I look forward to making the Kalle shirt at some point, but I think I need to make a few more Jenna shirts first to make sure I get the techniques down. Heather's hilarious personality made it so fun to watch, and love the bite sized content. I just didn't fully understand the curved hem part from this class so I went and looked at a few youtube videos and got some more tips and went back to the class to finish the project. Thank you thank you thank you!
I actually bought this course because the pattern I had purchased from another company didn’t have clear instructions. I’m going to review this course every time I make a shirt regardless of where I got the pattern. It is so well and clearly presented. And as a bonus you get the incredible comedic entertainment from Heather! Definitely recommend this course!!
Really really enjoyed this course, even though I’ve been sewing for over 40 years, I’ve learned a few tricks. The explanations are clear and helpful, it covers everything. This is my first course with CCP and not my last
I can’t say enough good things about this class. It’s very clear that a lot of time, effort, and preparation went into the content because it’s clear and easy to follow. I was initially hesitant to try my hand at a button up shirt but the content is broken down into manageable steps with a lot of helpful information on selecting fabrics, interfacing, etc. After finishing my first make, I feel significantly more confident in my ability to make tops now. Really worth every penny 😍